Learn how to build a safe, effective outdoor cat shelter DIY in 5 simple steps. Our complete guide covers materials, construction, placement tips & seasonal adaptations.
Table of Contents
Introduction
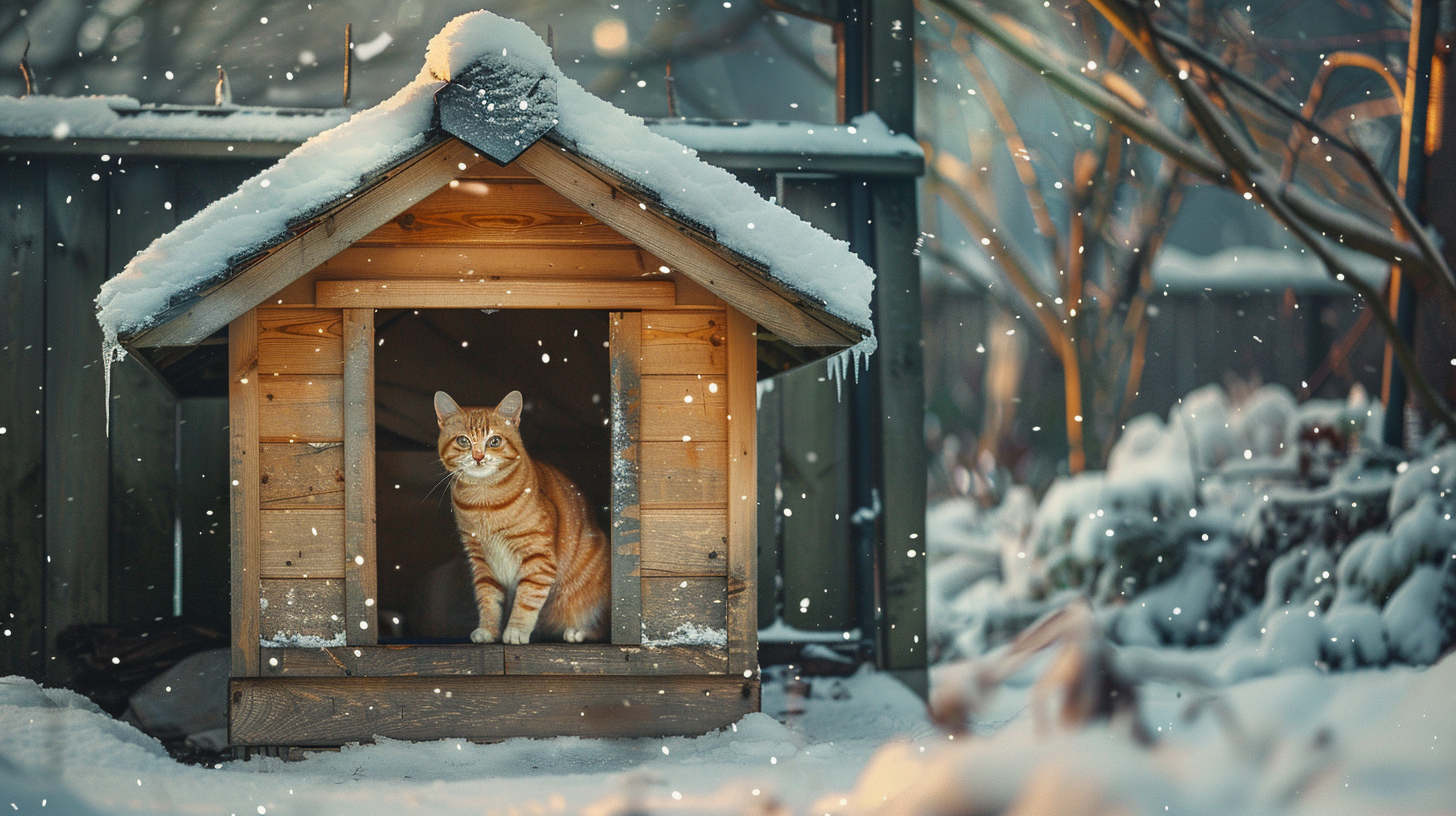
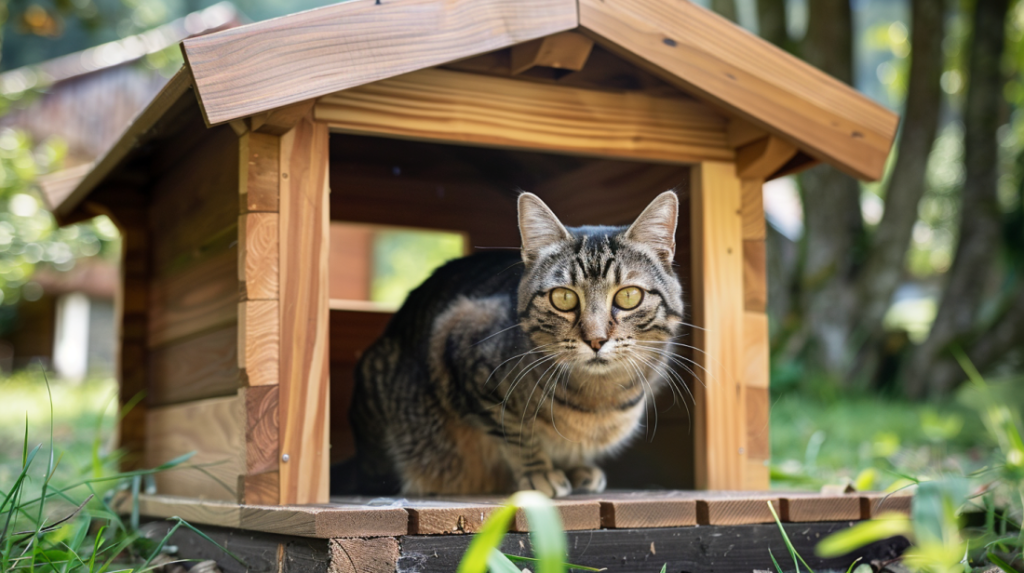
When temperatures drop and harsh weather strikes, stray and outdoor cats need a safe haven to survive. Building your own outdoor cat shelter DIY project isn’t just a compassionate act—it’s an affordable and rewarding way to protect feline friends in your neighborhood. Whether you’re caring for community cats or providing additional shelter for your own outdoor-loving pet, a well-constructed shelter can mean the difference between comfort and danger during extreme weather conditions.
According to the ASPCA, an estimated 30-40 million community cats live outdoors in the United States alone. These resilient animals face numerous challenges, with exposure to harsh elements being among the most serious threats to their survival. A properly designed outdoor cat shelter provides crucial protection from rain, snow, wind, and dangerous temperature extremes.
In this comprehensive guide, we’ll walk through a simple yet effective outdoor cat shelter DIY project that can be completed in just 5 steps. Using readily available materials and basic tools, you’ll learn how to create a durable, insulated shelter that will keep cats safe and comfortable throughout the changing seasons. Let’s dive in and make a difference in the lives of our feline neighbors!
The Importance of Outdoor Cat Shelters
Before jumping into our outdoor cat shelter DIY instructions, it’s important to understand why these structures are so vital for outdoor cats’ wellbeing.
Protection from the Elements
Outdoor cats are remarkably resilient, but they remain vulnerable to extreme weather conditions. According to Dr. Margaret Slater, Senior Director of Veterinary Epidemiology at the ASPCA, “Even with their fur coats, cats can experience hypothermia when temperatures drop below 45°F for extended periods.”
A properly constructed shelter provides essential protection from:
- Rain and snow that can saturate a cat’s fur, dramatically reducing its insulating properties
- Freezing temperatures that can lead to frostbite and hypothermia
- Scorching summer heat that can cause dehydration and heat exhaustion
- Strong winds that make cold temperatures feel even more extreme
Safety and Security
Beyond weather protection, shelters offer outdoor cats:
- A refuge from potential predators
- A quiet space to rest undisturbed
- Reduced stress from environmental threats
- A consistent location for caregivers to provide food and check on welfare
Community Management Benefits
For those involved in Trap-Neuter-Return (TNR) programs, providing shelters demonstrates responsible community cat management. A 2018 study published in the Journal of Feline Medicine and Surgery found that communities with structured support systems for outdoor cats—including feeding stations and shelters—saw improved cat health outcomes and reduced population growth when combined with TNR efforts.
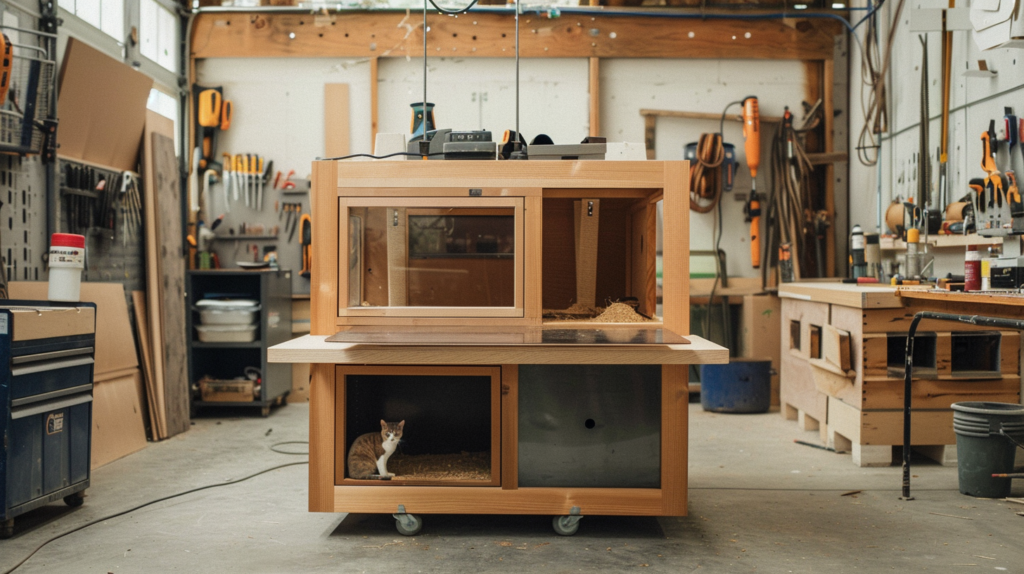
Materials Needed for Your Outdoor Cat Shelter DIY Project

One of the beauties of creating an outdoor cat shelter DIY project is the flexibility in materials and design. Below, we’ll focus on one of the most practical, affordable, and effective designs using a plastic storage container. Here’s everything you’ll need:
Essential Materials:
- Main Container: 18-30 gallon plastic storage bin with lid (choose opaque or dark colors that absorb heat)
- Insulation: Styrofoam sheets (1-2 inches thick) or straw
- Waterproofing: Waterproof tape or silicone caulk
- Entrance creation: 6-inch diameter plastic drainage pipe or similar (optional)
- Bedding: Clean straw (NOT hay, which retains moisture)
- Additional protection: 2nd smaller plastic bin (for double-bin method)
Tools Required:
- Box cutter or utility knife
- Measuring tape
- Permanent marker
- Duct tape (preferably waterproof)
- Drill with appropriate bits
- Sandpaper (to smooth rough edges)
Optional Materials:
- Reflective material for added insulation
- Plastic tarp for additional rain protection
- Door flap material (rubber mat, vinyl, or commercial pet door)
- Bricks or concrete blocks to elevate shelter
- Non-toxic waterproof paint for camouflage or decoration
Material Cost Breakdown:
| Item | Approximate Cost | Notes |
| Plastic Storage Bin | $10-20 | Look for sales or second-hand options |
| Styrofoam Sheets | $10-15 | Home improvement stores often sell these |
| Straw | $10-15 | Available at farm supply stores |
| Waterproof Tape | $5-8 | Gorilla tape works well |
| PVC Pipe (6″ diameter) | $8-12 | For entrance tunnel (optional) |
| Additional Supplies | $10-15 | Caulk, paint, etc. |
| Total | $48-80 | Basic shelter can be built for under $50 |
5 Steps to Build Your Outdoor Cat Shelter DIY Project

Let’s break down the construction process into five manageable steps for your outdoor cat shelter DIY project:
Step 1: Prepare Your Container
- Choose the right location for your entrance hole. Position it 2-3 inches above the bottom of the bin to prevent water from entering and to keep bedding dry.
- Mark the entrance hole using a permanent marker. The ideal size is 5-6 inches in diameter—large enough for a cat to enter comfortably but small enough to conserve heat and keep larger predators out.
- Cut the entrance hole carefully using your utility knife or box cutter. Work slowly and deliberately to create a clean, smooth edge.
- Sand the edges of the cut hole to remove any sharp points or rough areas that could injure a cat.
Pro Tip: For added protection against predators, consider cutting entrance holes on two sides to create an escape route.
Step 2: Add Insulation
Proper insulation is crucial for an effective outdoor cat shelter DIY project, especially in cold climates:
- Measure and cut styrofoam sheets to line the interior walls, floor, and ceiling of your bin. The sheets should fit snugly against all interior surfaces.
- Secure the insulation using waterproof tape or non-toxic adhesive. Ensure all pieces are firmly attached so they won’t shift when cats enter or exit.
- Cut an entrance hole in the insulation that aligns perfectly with the hole you cut in the bin. This creates a fully insulated tunnel for entry and exit.
- Seal any gaps between insulation pieces with waterproof tape to prevent drafts and heat loss.
Expert Insight: According to urban wildlife specialist Dr. John Harrison, “The majority of heat loss in outdoor shelters occurs through gaps in insulation. Taking time to properly seal these areas can improve thermal efficiency by 30-40%.”
Step 3: Create a Weatherproof Entrance
A properly designed entrance helps keep precipitation out while minimizing heat loss:
- Optional but recommended: Attach an entrance tunnel using the PVC pipe. Cut the pipe to 6-8 inches in length and secure it to the entrance hole using waterproof tape or silicone caulk.
- Weatherproof the entrance area by applying silicone caulk around all seams where the pipe meets the bin.
- Consider adding a door flap using rubber mat material or commercial pet door products. The flap should be lightweight enough for cats to push through easily.
- Test the entrance by confirming the opening remains accessible and free from sharp edges.
Weather Consideration: If your area experiences heavy snowfall, position the entrance facing away from prevailing winds and consider adding an awning above the entrance to prevent snow buildup.
Step 4: Add Proper Bedding
The right bedding material makes a tremendous difference in shelter comfort and effectiveness:
- Use clean, dry straw as bedding material—not hay, blankets, or towels. Straw repels moisture and provides excellent insulation.
- Fill the bottom of the shelter with 3-5 inches of straw, creating a thick, insulating layer that cats can nestle into.
- Replace bedding regularly throughout the season as it becomes damp or soiled.
Important Note: The Humane Society of the United States strongly advises against using blankets, towels, or hay as bedding. These materials absorb moisture, which can freeze in cold weather and potentially cause hypothermia. Straw’s hollow structure traps air and provides superior insulation while repelling moisture.
Step 5: Position and Protect Your Shelter
Where and how you place your outdoor cat shelter DIY creation significantly impacts its effectiveness:
- Elevate the shelter 2-3 inches off the ground using bricks, pallets, or other waterproof materials. This prevents moisture from seeping in from below and provides additional insulation from cold ground.
- Position the entrance away from prevailing winds to minimize cold air entering the shelter.
- Place the shelter in a discreet location that offers natural protection—under bushes, against a wall, or near other structures that block wind.
- Consider camouflaging the shelter using non-toxic paint in earth tones or by partially concealing it with natural materials to protect from human interference.
- Add weight to the top (like a few bricks) to prevent the shelter from being tipped over by wind or animals.
Location Expert Advice: Feline behaviorist Jackson Galaxy recommends placing shelters in quiet areas with low foot traffic: “Cats need to feel secure when using shelters. Look for locations that offer multiple escape routes and a good view of the surrounding area.”
Advanced Outdoor Cat Shelter DIY Techniques
For those looking to create an even more effective shelter or facing extremely cold climates, consider these advanced techniques:
Double-Bin Method for Superior Insulation
The double-bin construction creates an additional insulating air pocket between containers:
- Choose two nested containers with the smaller one able to fit inside the larger with 1-2 inches of space on all sides.
- Cut aligned entrance holes in both containers.
- Fill the gap between bins with insulating material like styrofoam pellets or sheets.
- Seal the tops together with waterproof tape after adding bedding to the inner container.
This method can increase thermal efficiency by up to 50% in extreme conditions, according to a 2020 field study by the Community Cat Coalition.
Solar-Heated Options
Incorporating passive solar heating can provide additional warmth:
- Position clear plastic panels on south-facing portions of the shelter to allow sunlight to warm the interior.
- Add heat-absorbing materials like dark-colored ceramic tiles inside the shelter to collect and slowly release heat.
- Consider mylar reflective sheets on inner walls to bounce heat back toward the center of the shelter.
Multi-Cat Considerations
When building for multiple cats:
- Increase shelter size proportionally (approximately 2’×3′ base for 3-4 cats).
- Add multiple entrance/exit points to prevent territorial blocking.
- Create partial interior dividers using additional styrofoam pieces to create separate nesting areas while maintaining shared warmth.
Safety Considerations for Your Outdoor Cat Shelter DIY Project
When creating your outdoor cat shelter DIY project, keeping feline safety at the forefront is essential:
Avoiding Common Hazards
- Thoroughly smooth all cut edges to prevent injuries from sharp plastic or insulation material.
- Ensure adequate ventilation while still maintaining heat. Small air holes near the top of the shelter allow moisture to escape without creating drafts.
- Never use electric heating pads or devices that could malfunction, overheat, or create fire hazards. If additional heat is necessary, consult with veterinary professionals about safe options like microwaveable warming discs designed for pets.
- Position shelters away from roads to reduce the risk of vehicle encounters.
Materials to Avoid
For the safety of outdoor cats, never use:
- Electric blankets or heating pads (fire risk)
- Fiberglass insulation (causes respiratory issues and skin irritation)
- Cedar shavings (toxic to cats)
- Mothballs or chemical pest repellents (highly toxic)
- Metal containers (conduct cold and can cause frostbite)
Maintenance Schedule
Establish a regular maintenance routine:
| Season | Maintenance Tasks |
| Early Fall | Clean shelter, replace bedding, check structural integrity |
| Mid-Winter | Monitor for snow blockage, refresh bedding, check for water damage |
| Early Spring | Deep clean, repair winter damage, consider reducing insulation |
| Summer | Ensure adequate ventilation, provide shade, check for pest infestations |
Attracting Cats to Your Outdoor Cat Shelter DIY Creation
Building an excellent shelter is only half the challenge—getting cats to use it is equally important:
Location Strategies
- Place the shelter near existing feeding stations where cats already feel comfortable.
- Position shelters in quiet, low-traffic areas where cats won’t feel exposed or threatened.
- Allow for observation from a distance to monitor usage without disturbing the cats.
According to the Neighborhood Cats organization, shelters should be placed at least 5 feet away from feeding stations to prevent food contamination but close enough that cats associate both locations as safe zones.
Encouraging Use
- Sprinkle catnip inside the shelter to attract curious felines.
- Create familiarity by placing an item with the cat’s scent inside if possible.
- Be patient as cats can take days or weeks to trust new structures—don’t move the shelter during this adjustment period.
- Consider using attractants like Feliway (synthetic cat pheromones) to create a sense of security and comfort.
Managing Multiple Shelters
Community cat caretakers often find that providing multiple smaller shelters rather than one large shelter reduces territorial conflicts and increases overall usage. Space shelters approximately 5-10 feet apart in a protected area.
Seasonal Adaptations for Your Outdoor Cat Shelter DIY Project

A truly effective outdoor cat shelter DIY project should be adaptable to seasonal changes:
Winter Modifications
- Add extra insulation during the coldest months—increase straw bedding depth to 5-6 inches.
- Check regularly for snow buildup that might block entrances or air vents.
- Position a windbreak using natural or artificial barriers to protect the shelter from direct exposure to winter winds.
- Consider a smaller entrance during extreme cold to minimize heat loss while ensuring cats can still enter and exit comfortably.
A field study conducted by Urban Cat Relief found that shelters with entrance sizes reduced to 5-6 inches during winter maintained internal temperatures 7-10°F warmer than identical shelters with larger openings.
Summer Adaptations
- Increase ventilation by adding additional small air holes near the top of the shelter.
- Position in shaded areas to prevent overheating during summer months.
- Reduce bedding thickness to improve air circulation and cooling.
- Consider adding a cooling shelf made of tile or stone where cats can rest on naturally cool surfaces.
Transitional Season Tips
During spring and fall:
- Gradually adjust insulation levels as temperatures change.
- Monitor for increased moisture during rainy seasons and replace damp bedding promptly.
- Check more frequently for signs of pest invasion as insects and small mammals seek shelter during seasonal transitions.
Special Considerations for Various Climate Zones
Your outdoor cat shelter DIY approach may need adjustments based on your specific climate:
Cold/Northern Climates
For areas with prolonged freezing temperatures:
- Implement the double-bin method for maximum insulation
- Reduce entrance size to the minimum viable width (5-6 inches)
- Consider mylar blanket lining under the insulation layer
- Add a clear plastic flap door to retain heat while allowing easy access
Hot/Southern Climates
For regions with extreme heat concerns:
- Prioritize shade and ventilation over insulation
- Use reflective materials on the shelter exterior
- Elevate higher off the ground (4-6 inches) to allow cooling air flow
- Consider a larger shelter with more air volume for better temperature regulation
Coastal/High Precipitation Areas
For rainy or humid environments:
- Focus on superior waterproofing with silicone caulk at all seams
- Create extended entrance overhangs to prevent rain from entering
- Use mold-resistant materials for all components
- Establish more frequent bedding replacement schedules
Success Stories: Real-World Outdoor Cat Shelter DIY Projects

Seeing real-world examples can provide inspiration and practical insights:
Community Impact in Chicago
The Chicago Community Cats Coalition implemented a neighborhood-wide outdoor cat shelter DIY initiative in 2022, building and distributing over 200 shelters before winter. Follow-up monitoring revealed:
- 85% of shelters showed regular usage by at least one cat
- Winter survival rates for the monitored colony increased by approximately 40% compared to previous years
- Participating neighborhoods reported stronger community bonds and increased awareness of humane management approaches
Rural Success in Montana
Montana rancher Sarah Jenkins adapted the basic outdoor cat shelter DIY design for her working farm cats:
“We modified the entrance design to include a 90-degree turn in the tunnel, which virtually eliminated wind penetration during our harsh winters,” Jenkins reports. “After implementing these shelters, we noticed our barn cats remained healthier throughout winter, with fewer respiratory infections and frost-related injuries.”
Her design has since been adopted by several neighboring farms with similar positive results.
Urban Application in Philadelphia
The Philadelphia Animal Welfare Society (PAWS) coordinated an outdoor cat shelter DIY workshop that produced over 100 shelters for urban community cats. Their post-implementation survey found:
- Shelter placement in established colony locations achieved 70% utilization within two weeks
- Community feedback indicated reduced nuisance complaints as cats had designated spaces
- Several workshop participants became more involved in TNR efforts after seeing the shelter benefits
Community Resources and Support for Your Outdoor Cat Shelter DIY Project

You don’t have to tackle your outdoor cat shelter DIY project alone:
Finding Local Support
- Connect with local cat rescue organizations that may offer workshops, materials, or placement assistance.
- Check with animal shelters about community cat programs that provide resources for outdoor cats.
- Join online community groups focused on TNR and community cat welfare where experienced builders share tips and improvements.
Material Donation Sources
- Hardware stores often donate slightly damaged bins or materials
- Construction companies may provide scrap insulation materials
- Farm supply stores sometimes offer discounted or donated straw
- Community tool libraries for borrowing necessary equipment
Organizing Build Events
If you’re interested in making a larger impact:
- Coordinate community build days where volunteers construct multiple shelters simultaneously
- Partner with schools or scout troops for service learning projects
- Create instructional handouts to share with neighbors interested in supporting outdoor cats
According to Best Friends Animal Society, community build events typically produce shelters at 40-60% lower cost per unit than individual construction due to bulk material purchasing and shared resources.
Frequently Asked Questions About Outdoor Cat Shelter DIY Projects
How big should an outdoor cat shelter be?
The ideal size for a single-cat shelter is approximately 18″×18″ with a height of 12-16″. This provides enough space for a cat to turn around comfortably while still being small enough to conserve body heat effectively. For multiple cats, consider separate shelters rather than one large shelter to prevent territorial disputes.
Will cats actually use these shelters?
Yes, when properly constructed and placed, most community cats will use provided shelters, especially during extreme weather. Allow time for cats to become comfortable with new structures—usage typically increases gradually over 1-2 weeks. Placing familiar scents or catnip inside can accelerate acceptance.
How can I keep dogs and other animals out of cat shelters?
Entrance size is key—a 5-6″ diameter hole allows most cats to enter while excluding larger animals. Additionally, positioning the entrance 2-3″ above ground level and creating an entrance tunnel with a turn makes the shelter less appealing to non-cat species.
How often should I clean or maintain an outdoor cat shelter?
Check shelters weekly during regular use. Replace bedding completely every 2-3 months or immediately if it becomes wet or soiled. Conduct a thorough cleaning and inspection before winter and again in spring. Always clean using pet-safe, unscented cleaners and ensure the shelter is completely dry before adding new bedding.
Can I use heated pads or electric heating elements in outdoor shelters?
Electric heating elements are generally not recommended due to fire risks, potential for malfunction, and the need for electrical connections. Instead, focus on proper insulation and weather-resistant design. If additional heat is necessary in extreme conditions, consider specially designed microwaveable warming discs made specifically for pet shelters.
How can I help cats find and use the new shelter?
Place new shelters near existing feeding stations or areas where cats already congregate. Maintain consistent feeding times nearby to establish a routine. Adding catnip or familiar bedding materials can help attract cats initially. Be patient—cats may take days or weeks to fully trust and utilize new shelters.
For More Expert Pet Care Tips
For more expert pet care tips and product recommendations, visit BlithePet.com — your trusted source for pet wellness.
Conclusion
Creating an outdoor cat shelter DIY project is a rewarding way to make a tangible difference in the lives of outdoor cats in your community. With just a few hours of work and minimal materials, you can provide essential protection that might save feline lives during harsh weather conditions.
Remember that proper design, insulation, and placement are key factors in creating an effective shelter. Regular maintenance ensures your shelter remains a safe haven throughout changing seasons. Whether you’re caring for your own outdoor cat or supporting community cats, these shelters demonstrate compassion in action.
By sharing your outdoor cat shelter DIY experience with others, you can multiply your impact and help foster a more humane approach to outdoor cat management in your community. Together, we can improve the welfare of these resilient animals one shelter at a time.
Have a similar experience with your pet? Share it in the comments below!