Learn how do beekeepers breed queen bees with our expert guide. Discover the queen bee rearing process, essential techniques, and proven methods for successful bee breeding.
Table of Contents

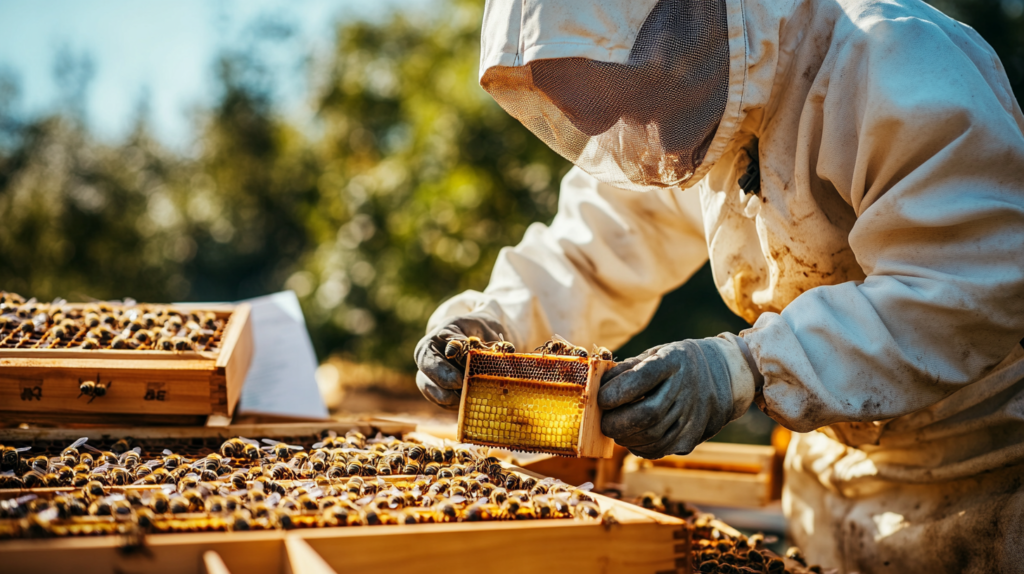
Beekeeping has fascinated humans for thousands of years, but one of the most intriguing aspects remains the art of breeding queen bees. Understanding how do beekeepers breed queen bees is essential for anyone serious about maintaining healthy, productive hives. Whether you’re a seasoned apiarist or just starting your journey into the world of beekeeping, mastering the queen bee rearing process can make the difference between thriving colonies and struggling hives.
Queen bees are the heart of every colony, responsible for laying up to 2,000 eggs per day during peak season. Without a healthy, productive queen, a hive cannot survive. This comprehensive guide will walk you through the proven methods beekeepers use to successfully breed queen bees, ensuring your colonies remain strong and productive year after year.
The Critical Role of Queen Bees in Colony Success
Before diving into the breeding process, it’s crucial to understand why queen breeding matters so much in beekeeping. A queen bee is not just another member of the colony – she’s the genetic foundation that determines the entire hive’s characteristics, including productivity, temperament, disease resistance, and survival ability.
Professional beekeepers know that relying solely on natural queen replacement can be risky. Swarm cells or emergency queen cells don’t always produce the highest quality queens. By taking control of the queen bee rearing process, beekeepers can:
- Select superior genetic traits for breeding
- Ensure consistent queen quality across multiple hives
- Maintain genetic diversity while improving desirable characteristics
- Replace aging or failing queens proactively
- Expand apiaries with known, quality genetics
Research from the University of Georgia’s beekeeping program shows that colonies with artificially reared queens from selected breeding stock produce 25-40% more honey compared to those with naturally replaced queens from random genetics.
Understanding Queen Bee Biology and Development
To successfully breed queen bees, beekeepers must first understand the biological process of queen development. This knowledge forms the foundation of all successful queen rearing techniques.
The Larval Development Process
Queen bees develop from the same fertilized eggs as worker bees, but their development differs dramatically due to exclusive feeding with royal jelly. Here’s the timeline:
- Days 1-3: Egg stage in specially constructed queen cells
- Days 4-8: Larval stage with continuous royal jelly feeding
- Days 9-15: Pupal stage in sealed queen cells
- Day 16: Adult queen emerges (virgin queen)
- Days 18-24: Mating flights occur
- Days 25-30: Egg laying begins
Genetic Factors in Queen Quality
The genetics of the parent queen directly influence the quality of daughter queens. Beekeepers select breeder queens based on:
- Egg-laying capacity: 1,500-3,000 eggs per day
- Longevity: Queens living 2-5 years
- Disease resistance: Natural immunity to common bee diseases
- Temperament: Gentle, manageable colonies
- Productivity: High honey production rates
- Overwintering ability: Survival through harsh conditions
Step 1: Selecting Superior Breeder Queens
The first and most crucial step in how do beekeepers breed queen bees involves carefully selecting the mother queens that will provide the genetic material for the next generation. This selection process requires meticulous record-keeping and objective evaluation of colony performance.
Performance Criteria for Breeder Selection
Professional queen breeders evaluate potential mother queens based on multiple performance metrics collected over at least one full season:
Production Metrics:
- Honey production exceeding 60 pounds per hive annually
- Consistent brood pattern with minimal gaps
- Population growth maintaining 40,000+ bees at peak
- Effective pollen collection and storage
Behavioral Characteristics:
- Calm demeanor during hive inspections
- Minimal defensive behavior from worker bees
- Low swarming tendency
- Efficient comb building and maintenance
Health Indicators:
- Natural resistance to Varroa mites
- Low incidence of American Foulbrood susceptibility
- Strong hygienic behavior (removing diseased brood)
- Minimal nosema spore counts
Documentation and Record Keeping
Successful queen breeding requires detailed documentation. Top beekeepers maintain comprehensive records including:
- Weekly brood pattern assessments
- Monthly population estimates
- Seasonal honey production totals
- Disease and pest monitoring results
- Temperament scores during inspections
- Weather correlation data
According to the National Honey Bee Advisory Board, beekeepers who maintain detailed breeding records see 30% better success rates in queen rearing compared to those using casual selection methods.
Genetic Diversity Considerations
While selecting for superior traits, maintaining genetic diversity remains critical for long-term colony health. Experienced beekeepers:
- Source breeder queens from multiple, unrelated bloodlines
- Rotate breeding stock every 2-3 years
- Collaborate with other quality breeders for genetic exchange
- Avoid excessive inbreeding by tracking lineages
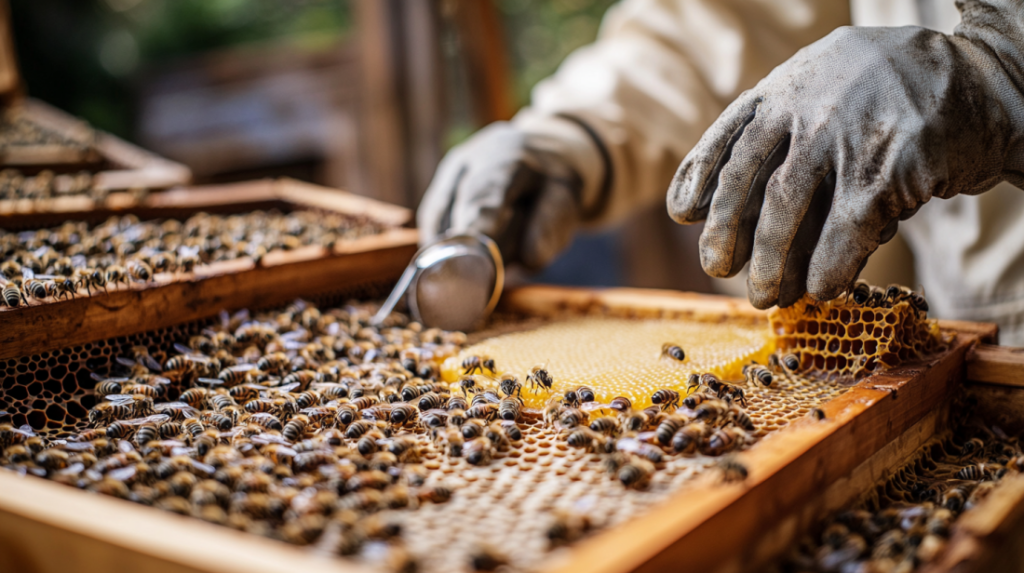
Step 2: Preparing the Cell Building Colony

The success of the queen bee rearing process heavily depends on having a strong, well-prepared cell building colony. This specialized hive serves as the nursery where queen larvae develop under optimal conditions.
Colony Strength Requirements
A cell building colony must meet specific population and health standards:
Population Requirements:
- Minimum 8-10 frames of bees
- At least 6 frames of emerging brood
- 2-3 frames of honey stores
- 1-2 frames of fresh pollen
Colony Health Standards:
- No signs of disease or parasites
- Young, vigorous workforce
- Active foraging population
- Stable, productive laying queen
The Queenless Preparation Method
Most successful queen breeders use the queenless method for cell building colonies. This process involves:
- Queen Removal: Remove the existing queen 24 hours before grafting
- Queen Cell Destruction: Eliminate any emergency queen cells
- Population Boosting: Add 2-3 frames of emerging brood from other hives
- Resource Optimization: Ensure adequate food stores and young nurse bees
Research from the University of California’s apiculture program demonstrates that queenless cell builders accept 85-95% of grafted larvae compared to only 40-60% acceptance rates in queenright colonies.
Alternative: Queenright Cell Builders
Some advanced beekeepers prefer queenright cell building methods using specialized excluder systems:
Double-Screen Method:
- Separate queen and cell building area with double screen
- Maintains queen pheromones while preventing direct contact
- Requires more complex hive management
- Produces 70-80% acceptance rates
Cloake Board Technique:
- Temporarily creates queenless conditions for grafting
- Reunites colony sections after cell acceptance
- Balances convenience with effectiveness
- Suitable for smaller operations
Step 3: Grafting Larvae – The Heart of Queen Breeding
Grafting represents the most technically demanding aspect of how do beekeepers breed queen bees. This delicate process involves transferring day-old larvae from worker cells into artificial queen cups, where they receive royal jelly feeding and develop into queens.
Essential Grafting Equipment
Professional queen breeding requires specialized tools for consistent success:
Primary Tools:
- Grafting tool (Chinese grafting tool or European-style needle)
- Cell cups (plastic, wax, or wooden)
- Cell bar frames for holding cups
- Magnifying glass or headset magnifier
- Good lighting (natural or LED)
Supporting Equipment:
- Spray bottle for humidity control
- Timer for tracking larval age
- Record sheets for documentation
- Transport container for grafted cells
The Grafting Technique
Successful grafting requires practice and attention to detail. Here’s the step-by-step process:
- Timing Selection: Choose larvae 12-36 hours old (small, C-shaped)
- Royal Jelly Preparation: Add small amount to each cell cup
- Larval Transfer: Gently slide grafting tool under larva
- Placement: Deposit larva onto royal jelly without touching
- Immediate Transfer: Move grafted cells to builder colony within 30 minutes
Critical Success Factors
The difference between amateur and professional grafting lies in attention to these details:
Environmental Control:
- Maintain 85-90% humidity during grafting
- Work in temperatures between 75-85°F
- Complete grafting within 2-3 hours maximum
- Minimize vibration and disturbance
Larval Quality Assessment:
- Select only the youngest, most viable larvae
- Avoid larvae showing any stress signs
- Choose from colonies with excellent nutrition
- Reject larvae from diseased or weak colonies
Master queen breeder Michael Palmer reports acceptance rates of 95% or higher using these precise techniques, compared to 60-70% for casual grafting methods.
Common Grafting Mistakes to Avoid
Even experienced beekeepers can fall into these common traps:
- Age Misjudgment: Using larvae older than 36 hours
- Rough Handling: Damaging larvae during transfer
- Poor Timing: Delays between grafting and colony introduction
- Inadequate Preparation: Insufficient royal jelly or poor cell cups
- Environmental Stress: Working in poor conditions
Step 4: Managing Queen Cell Development
Once larvae are successfully grafted and accepted by the cell building colony, careful management during the development period determines the final quality of emerging queens. This phase of the queen bee rearing process requires precise timing and optimal conditions.
The 10-Day Development Timeline
Queen development from grafted larva to emergence follows a strict timeline:
Days 1-2 (Post-Grafting):
- Initial acceptance by nurse bees
- Beginning of intensive royal jelly feeding
- Cell cup expansion starts
Days 3-5 (Larval Growth):
- Rapid larval growth and molting
- Maximum royal jelly consumption
- Cell elongation and shaping
Days 6-7 (Pre-Pupal Stage):
- Larval spinning of cocoon
- Cell capping by worker bees
- Beginning of metamorphosis
Days 8-10 (Pupal Development):
- Complete transformation to adult form
- Final maturation processes
- Preparation for emergence
Monitoring Cell Development
Professional beekeepers check developing queen cells regularly without disrupting the process:
Day 3 Inspection:
- Verify larval acceptance (85%+ success rate expected)
- Remove any rejected or poorly developed cells
- Document acceptance rates for breeding records
Day 7 Check:
- Confirm proper cell capping
- Assess cell size and shape quality
- Plan for emergence timing
Day 10 Preparation:
- Prepare for queen emergence
- Set up mating nucs or introduction cages
- Plan queen distribution strategy
Optimal Environmental Conditions
The cell building colony must maintain specific conditions for quality queen development:
Temperature Control:
- Brood nest temperature: 95°F (35°C)
- Avoid temperature fluctuations
- Provide adequate ventilation
- Monitor during extreme weather
Nutrition Requirements:
- Continuous fresh pollen supply
- Adequate honey stores (15+ pounds)
- Fresh water access nearby
- Supplement feeding if necessary
Studies by the USDA Bee Research Laboratory show that temperature variations of just 2-3 degrees during queen development can reduce adult queen quality by 15-20%.
Handling Emergency Situations
Sometimes problems arise during cell development that require immediate attention:
Poor Acceptance Issues:
- Check colony queenright/queenless status
- Verify adequate nurse bee population
- Assess nutritional resources
- Consider re-grafting with better timing
Cell Building Colony Problems:
- Monitor for disease outbreaks
- Watch for queen cell destruction
- Address aggressive behavior issues
- Maintain proper population levels
Step 5: Queen Emergence and Mating Management
The final step in understanding how do beekeepers breed queen bees involves managing the critical period from queen emergence through successful mating and egg-laying establishment. This phase determines whether months of careful breeding work result in productive queens.
Managing Queen Emergence
Virgin queens typically emerge 15-16 days after grafting, but timing can vary based on temperature and colony conditions. Proper emergence management involves:
Timing Predictions:
- Mark calendar dates for expected emergence
- Check cells daily starting day 14
- Listen for characteristic “piping” sounds
- Observe cell appearance changes
Emergence Options:
- Natural emergence: Allow queens to emerge in cell builder
- Controlled emergence: Remove cells to emergence cages
- Direct introduction: Place capped cells in target colonies
- Incubator emergence: Use controlled temperature chambers
Setting Up Mating Nuclei
Successful mating requires properly prepared nucleus colonies (mating nucs):
Mating Nuc Components:
- 2-3 frames of young bees (3,000-5,000 bees)
- 1 frame of emerging brood
- 1 frame of honey and pollen stores
- Adequate space for queen egg-laying
Population Management:
- Source bees from multiple strong colonies
- Ensure adequate nurse bee population
- Avoid including older forager bees
- Maintain proper bee-to-space ratio
Commercial queen breeders typically establish mating nucs with standardized bee populations using specialized measuring boxes to ensure consistency.
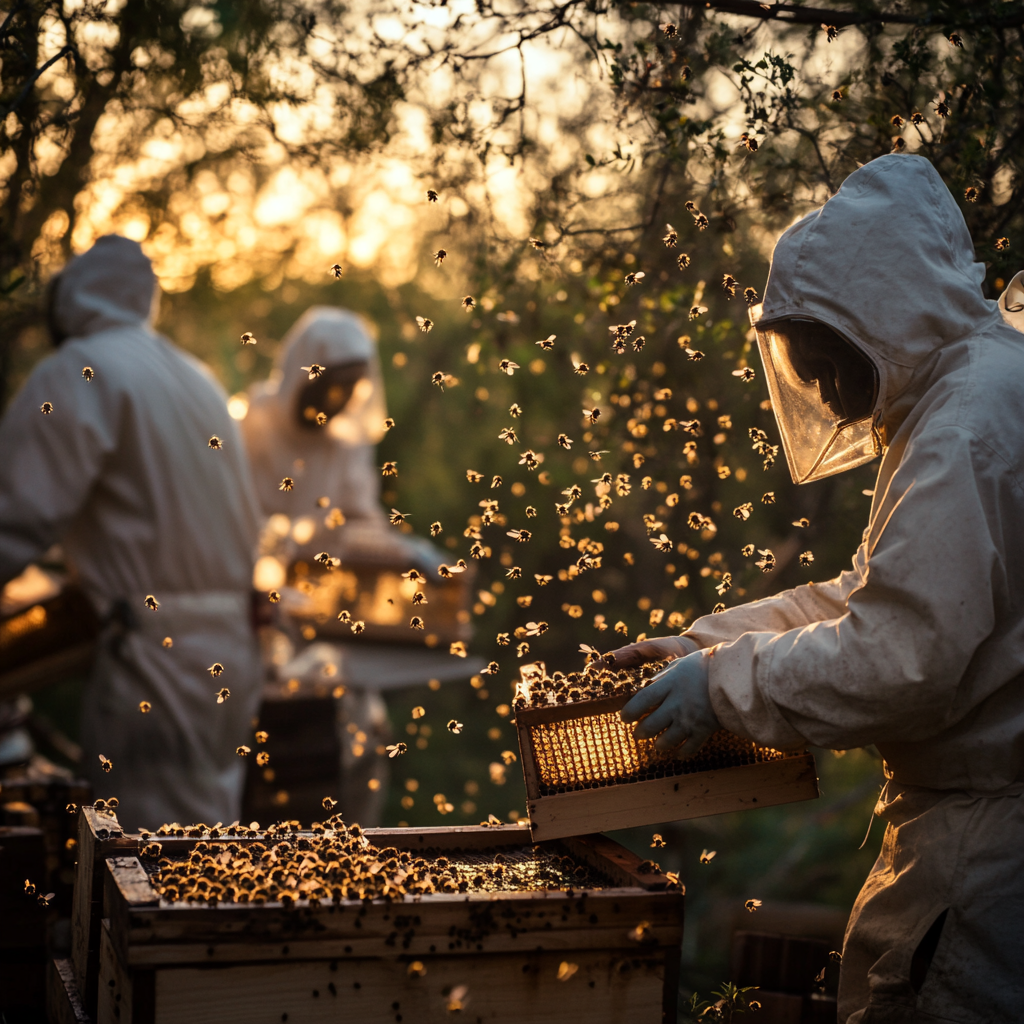
Mating Flight Considerations
Virgin queens must complete successful mating flights to become productive laying queens:
Environmental Factors:
- Weather conditions (temperature above 65°F)
- Wind speed (less than 15 mph ideal)
- Time of day (typically 2-4 PM)
- Absence of rain or storms
Drone Population Requirements:
- Adequate drone numbers in area (100+ per virgin queen)
- Drone congregation areas nearby
- Multiple drone sources for genetic diversity
- Proper drone nutritional status
Mating Success Indicators:
- Queen returns from flights
- Abdomen enlargement visible
- Egg-laying begins within 3-7 days
- Proper egg-laying pattern established
Quality Assessment of New Queens
Not all successfully mated queens meet breeding standards. Quality assessment criteria include:
Physical Characteristics:
- Large, well-developed body size
- Active, coordinated movement
- Intact wings and legs
- Proper color and markings
Performance Metrics:
- Egg-laying rate (1,000+ eggs/day minimum)
- Brood pattern quality (80%+ cells filled)
- Worker bee acceptance
- Colony growth rate
Research from the University of Minnesota’s bee lab shows that only 70-80% of successfully mated queens from amateur breeding programs meet commercial quality standards, compared to 90-95% from professional operations.
Advanced Queen Breeding Techniques
Experienced beekeepers often employ sophisticated methods to improve success rates and queen quality in their queen bee rearing process.
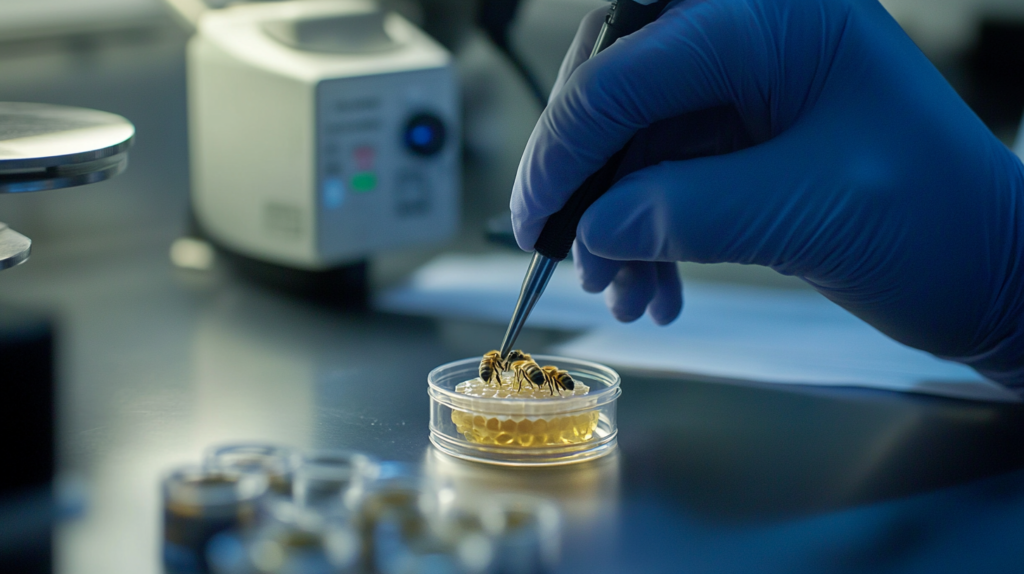
Instrumental Insemination
For precise genetic control, some breeders use instrumental insemination:
Advantages:
- Complete genetic control
- Elimination of inbreeding risks
- Preservation of valuable genetics
- Weather-independent mating
Requirements:
- Specialized equipment ($15,000-$30,000)
- Advanced technical training
- Controlled drone production
- Laboratory-like conditions
Success Rates:
- 85-95% successful insemination
- 80-90% queen survival to laying
- Genetic consistency guaranteed
Multiple Grafting Cycles
Professional operations often run multiple grafting cycles for continuous queen production:
Cycle Management:
- 3-day interval grafting schedules
- Overlapping development timelines
- Resource allocation planning
- Market demand coordination
Seasonal Considerations:
- Peak demand periods (spring/early summer)
- Weather window optimization
- Drone availability timing
- Colony strength management
Specialized Cell Building Methods
Advanced beekeepers experiment with various cell building approaches:
Miller Method:
- Natural cell building from modified comb
- Reduced labor requirements
- Variable success rates
- Suitable for small-scale operations
Jenter Kit System:
- Plastic cell cup system
- Simplified grafting process
- Consistent cell positioning
- Good for beginners
Nicot System:
- Queen confinement for egg laying
- Eliminates grafting completely
- Controls larval age precisely
- Higher equipment investment
Common Challenges and Troubleshooting
Even experienced beekeepers face challenges in queen breeding. Understanding common problems and solutions improves success rates significantly.
Low Acceptance Rates
When grafted larvae aren’t accepted by cell builder colonies:
Potential Causes:
- Improper colony preparation
- Poor grafting technique
- Inadequate nutrition
- Environmental stress
Solutions:
- Verify queenless status 24 hours before grafting
- Practice grafting technique regularly
- Ensure adequate pollen and nectar flow
- Control temperature and humidity
Poor Queen Quality
Sometimes emerged queens show poor performance characteristics:
Quality Issues:
- Small body size
- Poor egg-laying patterns
- Weak colony acceptance
- Short productive lifespan
Prevention Strategies:
- Select only superior breeder queens
- Maintain optimal development conditions
- Ensure adequate drone populations
- Implement quality assessment protocols
Seasonal Timing Problems
Queen breeding success varies significantly with seasonal conditions:
Spring Challenges:
- Variable weather patterns
- Inconsistent nectar flows
- Colony buildup timing
- Equipment preparation
Summer Considerations:
- Heat stress management
- Drought impact on nutrition
- Peak demand coordination
- Mating flight optimization
Fall Limitations:
- Declining drone populations
- Reduced colony acceptance
- Weather window constraints
- Overwintering preparation needs
Economic Aspects of Queen Breeding
Understanding the financial aspects helps beekeepers make informed decisions about queen breeding investments.
Cost Analysis
Queen breeding involves significant upfront and ongoing costs:
Initial Equipment Investment:
- Basic grafting tools: $100-$300
- Cell building equipment: $200-$500
- Mating nuc boxes: $500-$1,500
- Specialized tools: $1,000-$5,000
Ongoing Operational Costs:
- Feed and nutrition supplements
- Transportation and fuel
- Labor time investment
- Marketing and sales expenses
Potential Returns
Successful queen breeding can provide substantial returns:
Market Prices (2024):
- Mated queens: $35-$60 each
- Virgin queens: $20-$35 each
- Queen cells: $8-$15 each
- Breeding queens: $100-$500 each
Break-Even Analysis: Most small-scale operations break even with 100-200 queens annually, while commercial operations require 1,000+ queens for significant profitability.
Market Considerations
Queen breeding markets vary by region and season:
Demand Factors:
- Local beekeeper populations
- Commercial operation proximity
- Seasonal replacement needs
- Package bee availability
Competition Analysis:
- Established breeder presence
- Quality reputation requirements
- Price point positioning
- Customer service differentiation
Frequently Asked Questions
How long does it take to breed a queen bee?
The complete queen bee rearing process takes approximately 24-30 days from grafting to a laying queen. This includes 16 days for development from larva to emergence, plus 7-14 days for mating and the start of egg-laying.
What is the success rate for first-time queen breeders?
Beginning beekeepers typically achieve 40-60% success rates in their first season of queen breeding. With practice and proper technique, this can improve to 80-90% within 2-3 years. Professional operations routinely achieve 95%+ success rates.
How many queen cells can one colony build at a time?
A strong cell building colony can successfully rear 20-40 queen cells simultaneously. However, most beekeepers limit grafting to 15-25 cells per colony to ensure optimal nutrition and development conditions.
When is the best time of year to breed queens?
The optimal queen breeding season runs from late spring through mid-summer when colonies are strong, drones are abundant, and weather conditions support mating flights. In most temperate climates, this corresponds to May through July.
Can you breed queens without grafting?
Yes, several methods allow queen breeding without traditional grafting, including the Miller method, Jenter kit systems, and emergency queen rearing. However, grafting typically produces the highest quality queens with the most predictable results.
How do you know if a new queen is successfully mated?
A successfully mated queen will begin laying eggs within 3-7 days of her mating flights. Look for a solid brood pattern with primarily worker brood (small cells) rather than drone brood (large cells), which indicates proper mating with adequate sperm storage.
Expert Tips for Queen Breeding Success
Professional queen breeders share these insider strategies for improving success rates:
Timing Optimization
Seasonal Planning:
- Begin preparations 4-6 weeks before peak breeding season
- Coordinate with local nectar flows and drone populations
- Plan multiple grafting sessions 3-4 days apart
- Allow flexibility for weather delays
Daily Timing:
- Graft during mid-morning hours (9-11 AM)
- Complete all grafting within 2-3 hours
- Transfer to cell builders immediately
- Avoid grafting during temperature extremes
Quality Control Measures
Breeding Stock Selection:
- Maintain detailed performance records for 2+ years
- Test breeding lines for disease resistance
- Evaluate progeny performance, not just parent qualities
- Rotate genetic lines every 3-4 years
Development Monitoring:
- Check acceptance rates 24-48 hours post-grafting
- Monitor cell development without excessive disturbance
- Assess queen quality at emergence
- Track laying performance for 30 days minimum
Resource Management
Nutrition Optimization:
- Provide protein supplements during queen rearing
- Ensure continuous fresh pollen availability
- Maintain adequate honey stores in all colonies
- Consider feeding supplements during dearth periods
Colony Strength Maintenance:
- Boost cell builders with emerging brood frames
- Rotate nurse bees between colonies as needed
- Monitor for disease and treat promptly
- Maintain optimal bee-to-space ratios
The Future of Queen Breeding
Queen breeding technology and techniques continue evolving with new research and innovations:
Genetic Advances
Selective Breeding Programs:
- Varroa-sensitive hygiene (VSH) traits
- Disease resistance selection
- Productivity improvement programs
- Climate adaptation breeding
Genomic Technologies:
- DNA marker-assisted selection
- Genetic diversity assessment tools
- Hereditary trait identification
- Population genetics management
Technology Integration
Digital Tools:
- Hive monitoring sensors
- Environmental data logging
- Breeding record software
- Performance tracking apps
Equipment Innovations:
- Improved grafting tools
- Automated cell placement systems
- Environmental control systems
- Quality assessment devices
Industry Trends
Market Developments:
- Increased demand for quality breeding stock
- Regional adaptation specialization
- Organic and treatment-free breeding
- Customer education emphasis
Research Directions:
- Climate change adaptation strategies
- Integrated pest management approaches
- Nutrition optimization studies
- Behavioral trait enhancement
For more expert pet care tips and product recommendations, visit BlithePet.com — your trusted source for pet wellness.
Conclusion
Mastering how do beekeepers breed queen bees requires dedication, practice, and attention to detail, but the rewards are substantial. From selecting superior breeding stock to managing the complex queen bee rearing process, each step builds upon the previous ones to create a comprehensive system for producing high-quality queens.
The five proven steps outlined in this guide—selecting breeder queens, preparing cell building colonies, grafting larvae, managing development, and handling emergence and mating—form the foundation of successful queen breeding. Whether you’re breeding queens for your own apiaries or considering commercial queen production, these techniques provide the roadmap to success.
Remember that queen breeding is both an art and a science. While following proven methods is essential, each beekeeper must adapt techniques to their local conditions, climate, and goals. Start with small batches, keep detailed records, and continuously refine your approach based on results and experience.
The investment in learning queen breeding pays dividends through improved colony performance, genetic control, and potential income opportunities. As you develop your skills and reputation, you’ll join the ranks of skilled beekeepers who play a crucial role in maintaining healthy bee populations for agriculture and ecosystems worldwide.
Have a similar experience with your pet beekeeping adventures? Share it in the comments below!