Discover how to create stunning DIY aquarium decorations including natural-looking caves and rock formations that enhance your tank while saving money. Complete step-by-step guide with expert tips.
Table of Contents
Introduction
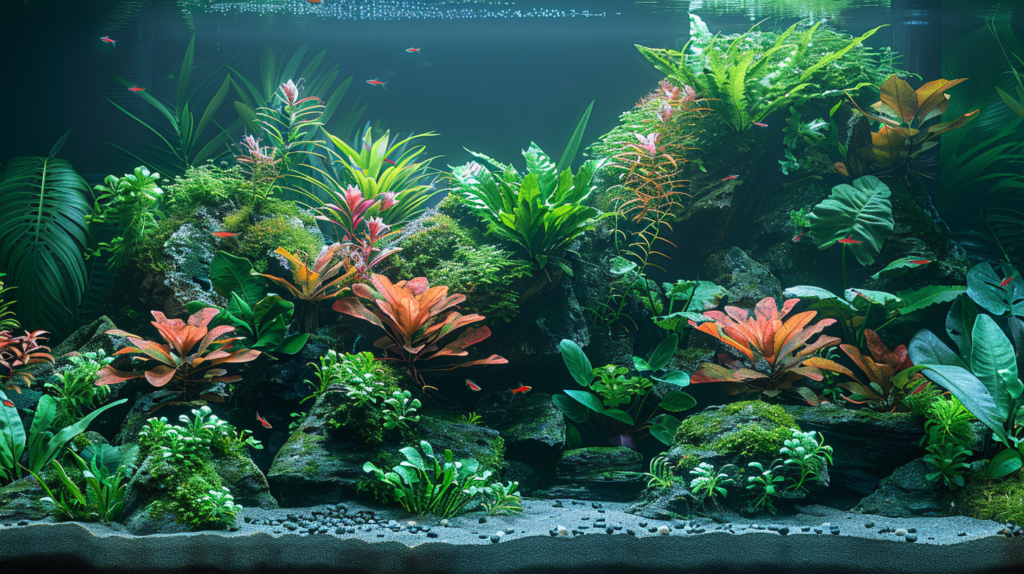
Creating a captivating underwater world for your aquatic pets involves more than just adding water and fish. The environment you establish directly impacts the health, behavior, and overall well-being of your aquatic companions. While pet stores offer a wide range of commercial decorations, DIY aquarium decorations provide a unique opportunity to customize your tank while potentially saving money and avoiding potentially harmful commercial products.
Crafting your own caves, rocks, and hideaways allows you to tailor each piece to your tank’s specific dimensions and your fish’s particular needs. According to a 2023 survey by the American Pet Products Association, over 13.1 million U.S. households own aquarium fish, making them the third most popular pet after dogs and cats. Yet, many of these fish owners report that finding the perfect decorations that balance aesthetics, safety, and functionality remains a challenge.
This comprehensive guide will walk you through creating safe, effective, and visually stunning DIY aquarium decorations that will transform your tank into an underwater wonderland. From simple cave structures that provide essential hiding places to elaborate rock formations that create natural-looking environments, you’ll discover how everyday materials can be repurposed to enhance your aquarium ecosystem.
Why Choose DIY Aquarium Decorations?
Before diving into specific projects, it’s important to understand the significant benefits of creating your own aquarium decorations:
Cost-Effectiveness
Commercial aquarium decorations can be surprisingly expensive, with designer pieces often costing $20-50 each. Dr. James Morgan, aquatic veterinarian and author of Aquarium Essentials, notes that homemade decorations can reduce setup costs by up to 70% while providing the same functional benefits as store-bought alternatives.
Customization
Every aquarium has unique dimensions and specific needs based on its inhabitants. DIY decorations allow you to create pieces that perfectly fit your tank’s specifications and address your fish’s particular behaviors.
Safety Control
Many fish keepers are increasingly concerned about the safety of commercial decorations. A 2022 study published in the Journal of Aquatic Animal Health found that 14% of tested commercial decorations released trace amounts of potentially harmful chemicals over time. By choosing your own materials, you maintain complete control over what enters your aquarium environment.
Environmental Considerations
Creating your own decorations often involves repurposing materials that might otherwise end up in landfills. This sustainable approach reduces waste while giving your aquarium a unique appearance.
Creative Expression
Your aquarium can be a reflection of your personal style and creativity. DIY projects allow you to implement unique design elements that simply aren’t available in mass-produced decorations.
Essential Safety Considerations
Before starting any DIY aquarium decoration project, safety must be your primary concern. The aquatic environment presents unique challenges that require careful material selection and preparation:
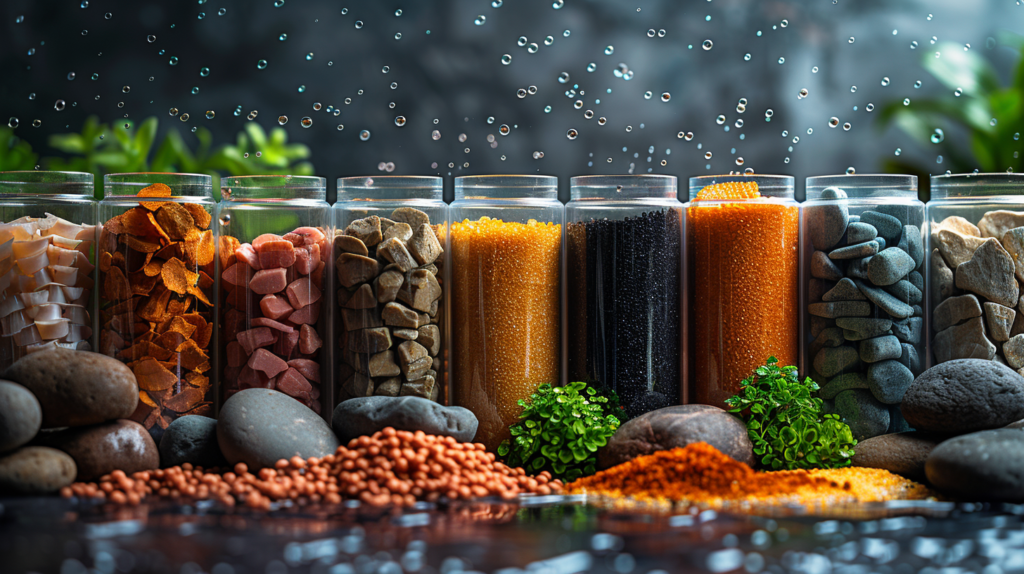
Aquarium-Safe Materials
Not all materials are suitable for underwater use. Here’s a quick reference guide:
| Safe Materials | Unsafe Materials | Requires Testing |
| Ceramic (unglazed) | Painted wood | Some plastics |
| Glass | Metal objects | Certain stones |
| Natural stone | Glazed ceramics | Commercial adhesives |
| Aquarium silicone | Regular silicone | Certain plants |
| Terra cotta | Copper | Shells |
Proper Preparation Methods
All materials should be thoroughly cleaned and treated before introduction to your aquarium:
- Boiling: For smaller items like stones and driftwood, boiling for 15-20 minutes helps eliminate harmful organisms and leachable substances.
- Soaking: Larger items should be soaked in dechlorinated water for 1-2 weeks, with water changes every 2-3 days.
- pH Testing: After preparation, place the item in a container with aquarium water and test the pH after 24 hours. Any significant change indicates the material may alter your tank’s chemistry.
Long-Term Considerations
Dr. Susan Reynolds, aquatic biologist at the Marine Life Institute, emphasizes: “Even properly prepared materials can change over time underwater. Regular inspection of DIY decorations is essential to ensure they remain safe for your aquatic pets.”
DIY Aquarium Caves: Essential Hideaways
Caves serve as crucial hiding places that reduce stress and provide territory for many fish species. Research published in the “Journal of Fish Biology” demonstrates that adequate hiding spaces can reduce aggression by up to 60% in community tanks and significantly improve breeding success rates.
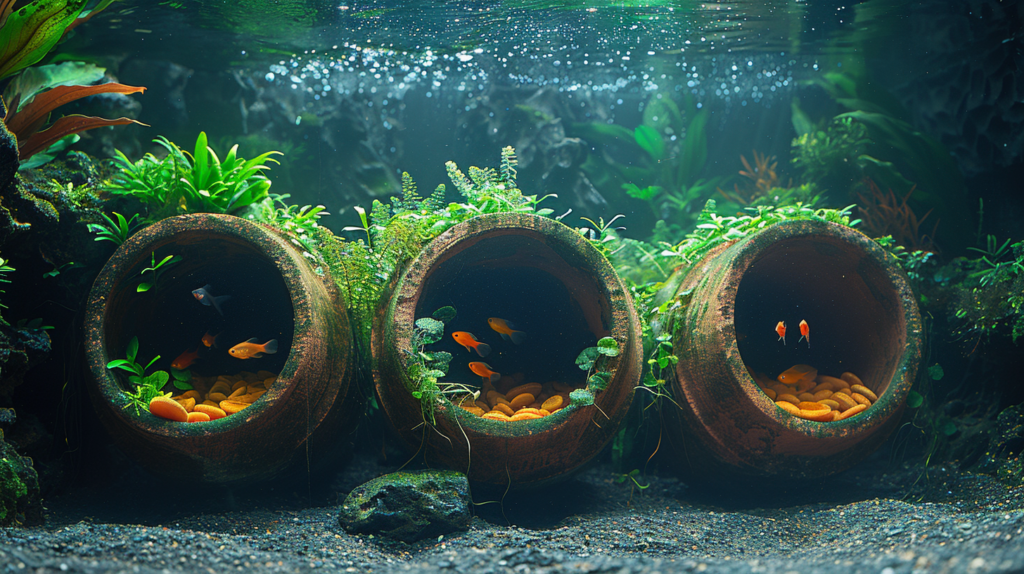
1. Terra Cotta Cave Hideouts
Materials Needed:
- Terra cotta pots (various sizes)
- Tile nippers or a rotary tool
- Sandpaper (fine grit)
- Aquarium-safe silicone (optional)
Step-by-Step Instructions:
- Select appropriate pots: Choose pots that are proportionate to your fish size—they should be large enough for your fish to enter and turn around comfortably.
- Create openings: Using tile nippers or a rotary tool, carefully cut a U-shaped opening in the side of the pot. This will serve as the cave entrance.
- Smooth all edges: Fish can injure themselves on rough surfaces. Use sandpaper to thoroughly smooth all cut edges and the rim of the pot.
- Optional decorating: You can attach small, aquarium-safe stones to the exterior using aquarium silicone to create a more natural appearance.
- Preparation: Soak the completed cave in dechlorinated water for at least 48 hours, changing the water once to remove any residual dust or contaminants.
Pro Tip: Stack multiple pots of decreasing size to create multi-level cave structures that provide hiding spaces for different species in community tanks.
2. PVC Pipe Caves and Tunnels
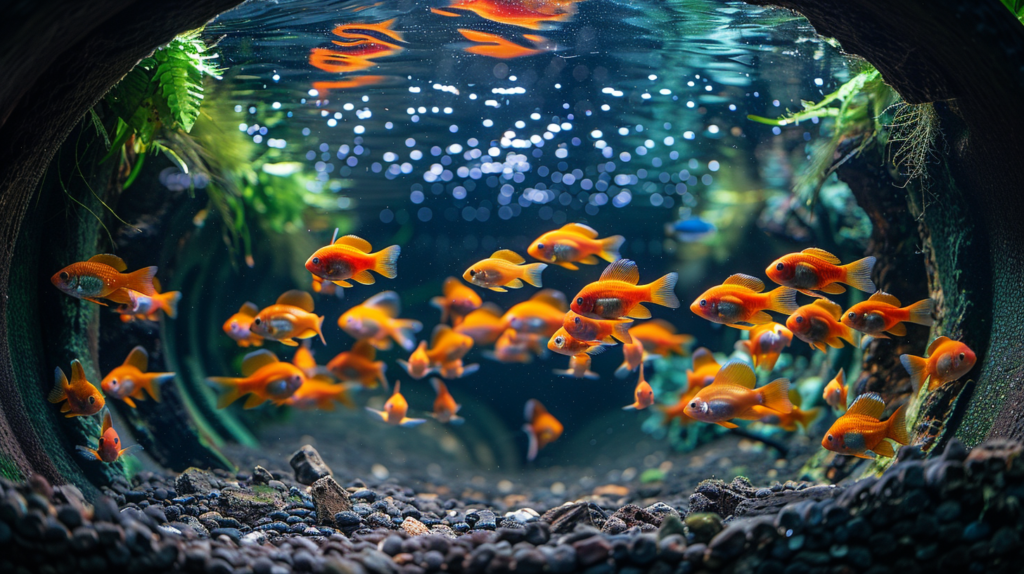
PVC pipes offer endless possibilities for creating safe, durable caves and tunnel systems.
Materials Needed:
- PVC pipes (various diameters)
- PVC connectors (elbows, T-joints)
- PVC cutter or saw
- Sandpaper
- Aquarium-safe silicone
- Natural substrate (gravel, sand)
Step-by-Step Instructions:
- Cut PVC pipes: Measure and cut PVC pipes to desired lengths. For most aquariums, sections between 3-6 inches work well.
- Create tunnel systems: Use connectors to join pipe sections into interesting configurations. T-joints create multiple entrances, while elbows can create corners and hiding spots.
- Sand all edges: Thoroughly smooth cut edges and any rough spots.
- Naturalize appearance: Cover the exterior with a thin layer of aquarium-safe silicone, then press natural substrate onto the silicone before it cures. This disguises the artificial appearance of the PVC.
- Cure and prepare: Allow the silicone to fully cure (usually 24-48 hours), then soak in dechlorinated water for at least 72 hours, changing water daily.
Marine biologist Dr. Thomas Wells recommends: “PVC cave systems are particularly beneficial for bottom-dwelling species like plecos and certain cichlids. The smooth interior prevents injury to delicate fins while providing crucial territory boundaries.”
3. Coconut Shell Caves
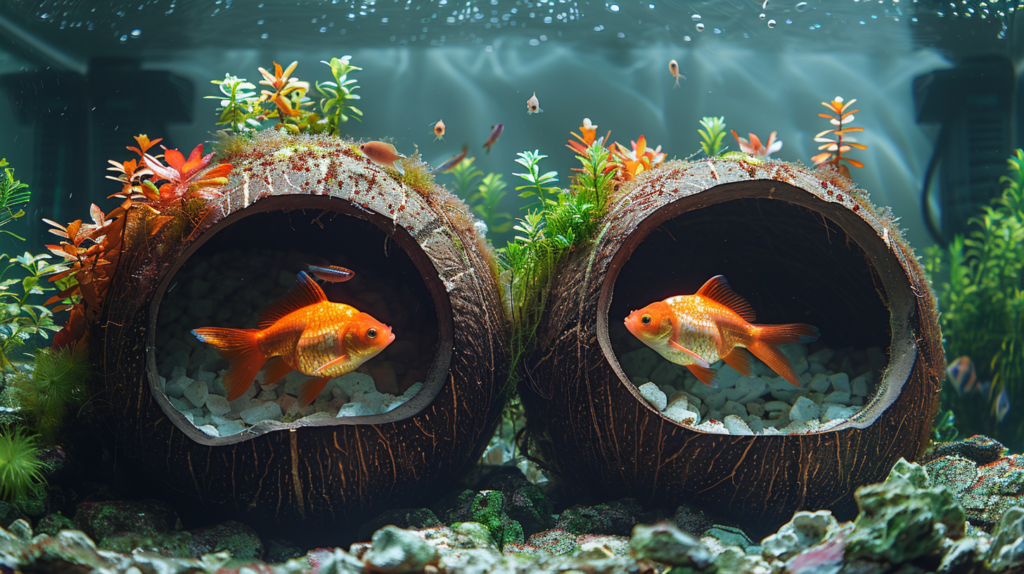
Natural coconut shells create excellent caves that blend seamlessly with natural aquascapes.
Materials Needed:
- Natural coconut shells
- Drill with various bits
- Sandpaper
- Stainless steel scrubber
- Large pot for boiling
Step-by-Step Instructions:
- Select and clean: Choose coconuts with thick, hard shells. Remove all flesh and the brown fibrous material from the interior.
- Create openings: Drill entrance holes appropriate for your fish size. For most community fish, a 2-inch diameter opening works well.
- Smooth edges: Sand all cut edges and the interior to prevent fish injuries.
- Prepare for aquarium use: Boil the shell for 20 minutes to remove any remaining oils and tannins. After boiling, scrub with a stainless steel scrubber to remove any remaining fibers.
- Soak: Place in dechlorinated water for 1-2 weeks, changing water every few days until the water remains clear.
Safety Note: Coconut shells naturally release tannins which can lower pH slightly. This makes them especially suitable for blackwater aquariums or tanks housing species that prefer slightly acidic conditions.
DIY Rock Formations and Structures
Natural-looking rock formations create depth, territories, and visual interest in aquariums. They also provide beneficial surfaces for beneficial bacteria colonization, enhancing your tank’s biological filtration.
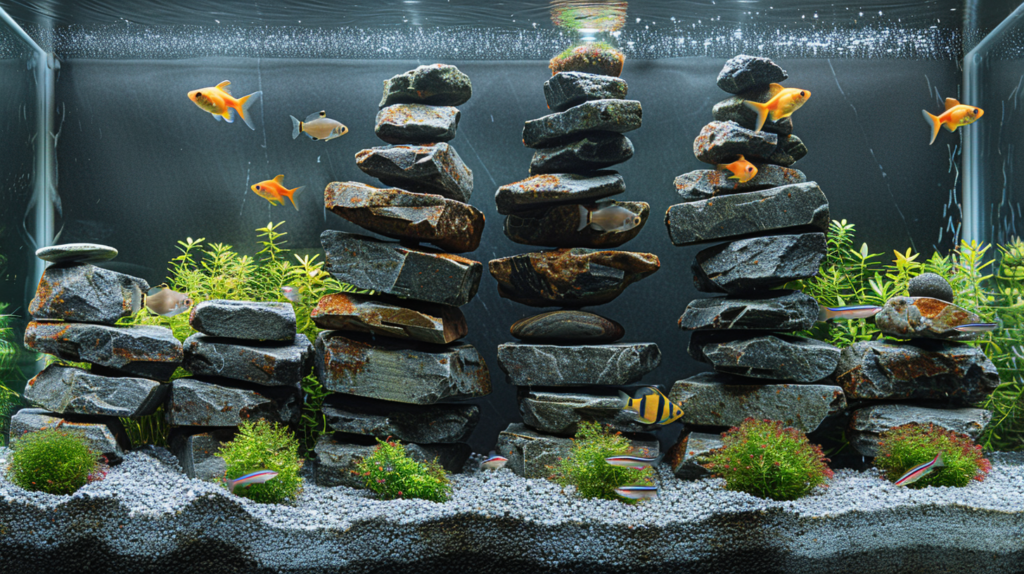
1. Slate Stacking Structures
Materials Needed:
- Aquarium-safe slate pieces
- Aquarium-safe silicone
- Sandpaper
- Clean brush
Step-by-Step Instructions:
- Select and prepare slate: Choose flat pieces of varying sizes. Clean thoroughly and sand any sharp edges.
- Design your structure: Lay out your design outside the aquarium first. Consider creating multiple levels with overhangs and cave-like spaces.
- Construction: Using aquarium-safe silicone, carefully attach slate pieces together. Apply silicone to contact points and hold pieces together until the silicone begins to set.
- Curing: Allow the structure to cure completely (24-48 hours) in a well-ventilated area.
- Testing: Before adding to your aquarium, place the structure in a bucket of dechlorinated water for a week, testing pH regularly to ensure the slate doesn’t affect water chemistry.
Expert Insight: According to aquascaping champion Robert Fung, “Slate structures work particularly well in aquariums with significant water flow, as their weight provides stability while creating beneficial current disruptions that many fish enjoy.”
2. DIY Artificial Rock Formations
Create lightweight, customizable rock formations using simple materials.
Materials Needed:
- Styrofoam pieces
- Aquarium-safe cement (specific products like Drylok or Quikrete hydraulic water-stop cement)
- Acrylic paints (aquarium safe)
- Paintbrushes
- Sandpaper
- Plastic drop cloth
Step-by-Step Instructions:
- Shape the base: Carve styrofoam into your desired rock shape using a knife or hot wire cutter. Create interesting textures, overhangs, and cave openings.
- Apply cement: Mix cement according to package directions. Apply 3-4 thin layers over the styrofoam, allowing each layer to dry completely before adding the next. Be sure to cover all styrofoam completely.
- Create texture: While applying final layers, create realistic rock textures using brushes, sponges, or other tools.
- Optional coloring: If desired, use aquarium-safe acrylic paints to add natural coloration after the cement has fully cured.
- Curing and preparation: Allow to cure for at least one week. Then soak in water with frequent water changes for 2-3 weeks, testing pH regularly until readings stabilize.
Important Safety Note: This project requires significant curing and preparation time. Dr. Lisa Chen, aquatic toxicologist, warns: “Cement products can drastically raise pH if not properly cured. Never rush the preparation process when working with cement-based decorations.”
3. Lava Rock Arrangements
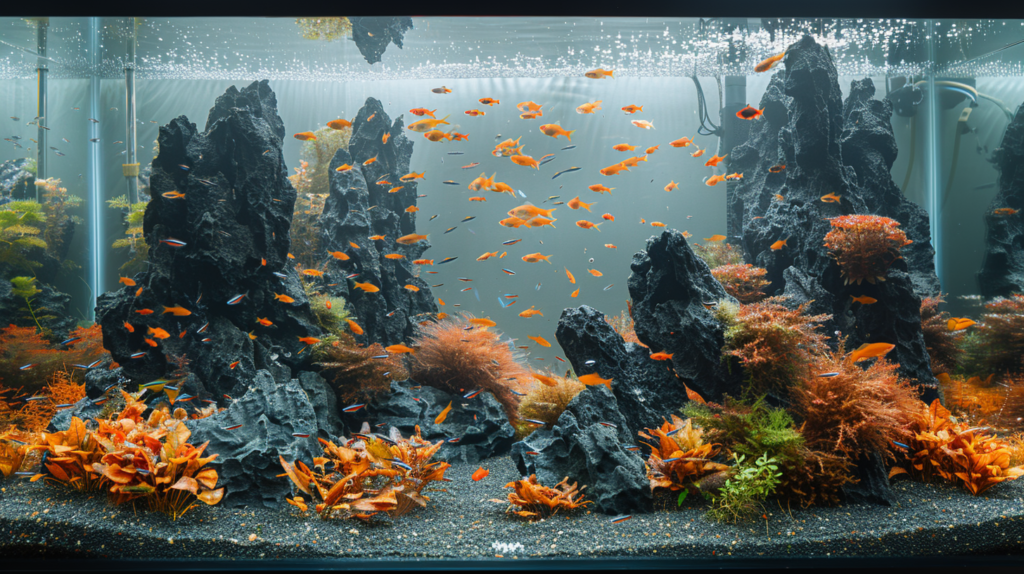
Natural lava rock provides excellent biological filtration surface area while creating stunning, natural-looking structures.
Materials Needed:
- Aquarium-safe lava rock pieces
- Aquarium-safe silicone
- Toothbrush for cleaning
- Bucket for soaking
Step-by-Step Instructions:
- Select complementary pieces: Choose lava rock pieces that fit well together to create interesting formations.
- Clean thoroughly: Scrub rocks with a toothbrush under running water to remove dust and debris from the porous surfaces.
- Boil or soak: For smaller pieces, boil for 15-20 minutes. For larger pieces, soak in dechlorinated water for 2 weeks with frequent water changes.
- Construction: Once prepared, use aquarium-safe silicone to join pieces into larger formations if desired.
- Biological benefits: Because of its highly porous nature, lava rock quickly colonizes beneficial bacteria. According to a study in “Aquarium Science,” lava rock can host up to 40% more nitrifying bacteria than smooth surfaces of equal size.
Planting Opportunity: The porous nature of lava rock makes it ideal for attaching live plants like Anubias, Java Fern, and mosses, creating a living rock formation that continues to evolve over time.
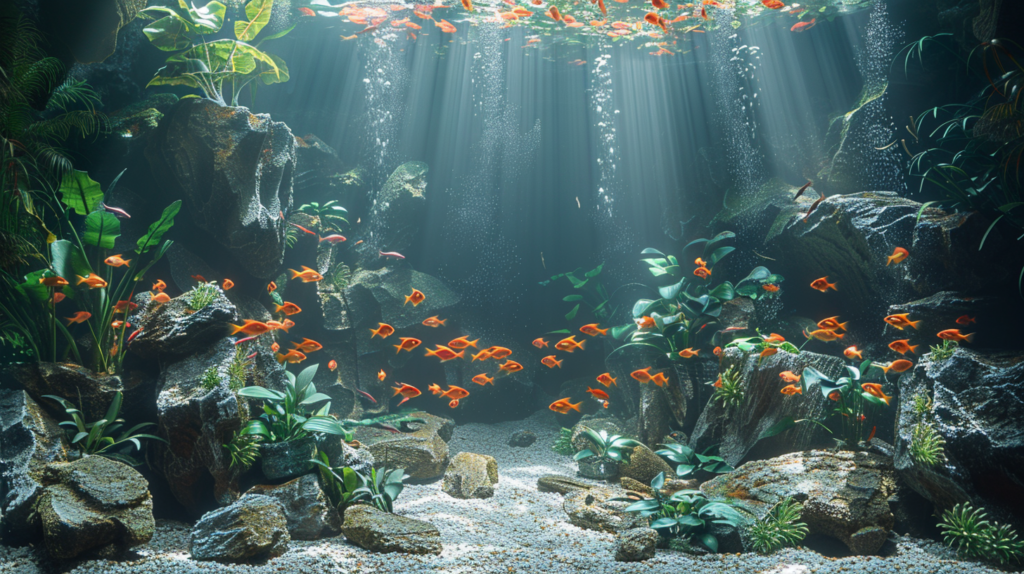
Combination Projects: Creating Complete Underwater Landscapes
For advanced DIY enthusiasts, combining multiple techniques creates comprehensive aquascape features that transform entire sections of your aquarium.
1. Multi-Level Rock and Cave Centerpiece
This project combines various techniques to create a focal point that serves multiple purposes for fish.
Materials Needed:
- Egg crate light diffuser panel (plastic grid)
- Zip ties
- PVC pipes (various diameters)
- Lava rock and slate pieces
- Aquarium-safe silicone
- Natural substrate
Step-by-Step Instructions:
- Create the base: Cut egg crate to form a stable platform approximately 1/3 the length of your aquarium.
- Build the structure: Attach PVC pipes vertically to the egg crate using zip ties to create the basic framework.
- Form caves and tunnels: Attach horizontal PVC sections between vertical supports, creating a network of passageways.
- Add rock elements: Use aquarium-safe silicone to attach lava rock and slate pieces to the exterior, covering the framework completely.
- Finishing touches: Create a natural substrate cover by applying silicone to exposed areas and pressing substrate into it before it cures.
- Preparation: This complex structure requires extensive curing and preparation. After silicone fully cures, soak for 3-4 weeks with frequent water changes, testing water parameters regularly.
Design Consideration: Aquascaping expert Jennifer Moss suggests: “When designing multi-level structures, consider the specific swimming patterns and territorial needs of your fish species. Bottom-dwellers need accessible ground-level caves, while mid-water swimmers benefit from open swimming lanes between structure elements.”
2. Planted Rock Wall
Combining rocks and live plants creates a living wall that improves water quality while providing natural hiding places.
Materials Needed:
- Flat rocks of various sizes
- Aquarium-safe mesh or plastic canvas
- Aquarium-safe silicone
- Plant species suitable for attachment (mosses, Anubias, Bucephalandra)
- Fishing line or aquarium-safe thread
Step-by-Step Instructions:
- Create the framework: Cut plastic canvas to fit your desired wall size and shape.
- Attach base rocks: Use aquarium-safe silicone to attach larger, flat rocks to the plastic canvas, creating the wall’s foundation.
- Add planting pockets: Leave strategic gaps between rocks where plants can be inserted.
- Prepare plants: Attach moss portions to smaller rocks using fishing line or thread.
- Install plants: Once the silicone securing the base rocks has cured, insert planted rocks into the gaps.
- Installation and maintenance: After full curing and preparation, secure the completed wall to your aquarium’s back glass using suction cups or silicone.
According to a 2022 study in “Aquatic Botany,” planted walls can remove up to 30% more nitrates than traditional filtration alone while creating microhabitats that reduce stress behaviors in fish.
Enhancing DIY Decorations with Lighting
Strategic lighting transforms good decorations into spectacular focal points. Consider these lighting enhancements for your DIY projects:
1. Integrated LED Elements
Materials Needed:
- Waterproof LED strip lights
- Waterproof battery pack or low-voltage transformer
- Clear silicone tubing
- Aquarium-safe silicone
Step-by-Step Instructions:
- Plan light placement: Identify areas in your decoration where lighting would create dramatic effects.
- Prepare LED strips: Cut waterproof LED strips to appropriate lengths and seal ends according to manufacturer instructions.
- Create channels: When building your decoration, create hidden channels where lights can be placed.
- Protect connections: Place connection points inside clear silicone tubing, then seal with aquarium-safe silicone.
- Power management: Route power connections to the top of the aquarium where they can safely exit the water.
Safety Warning: Only use lighting products specifically rated for submersible aquarium use with appropriate low-voltage transformers. Standard electrical components should never be used in or near aquariums.
2. Light-Reactive Elements
Incorporate materials that interact dramatically with aquarium lighting:
- Fluorescent rocks: Some aquarium-safe stones naturally fluoresce under blue LED or actinic lighting.
- Glow-in-the-dark accents: Aquarium-safe glow stones can be embedded in DIY rock formations.
- Strategic openings: Design caves and rock formations with small openings that create dramatic light beams in water.
Aquarium photographer Marcus Kim notes: “The interaction between light and water creates effects impossible to achieve in terrestrial environments. Even simple decorations can become magical with thoughtful lighting placement.”
Maintenance and Evolution of DIY Decorations
DIY aquarium decorations aren’t static elements—they change over time and require ongoing attention.
Regular Inspection
- Check silicone joints every 2-3 months for signs of deterioration.
- Examine surfaces for algae buildup that might affect appearance or function.
- Verify that no elements are breaking down or releasing particles into the water.
Cleaning Techniques
Different materials require specific cleaning approaches:
- Porous materials (lava rock, clay): Gentle brushing with a soft toothbrush during water changes.
- Smooth surfaces (PVC, slate): Can be scrubbed more vigorously if necessary.
- Planted elements: Trim plants as needed but avoid disturbing root structures established within decorations.
Allowing Beneficial Aging
Some changes actually benefit your aquarium ecosystem:
- Biofilm development on new decorations creates food sources for fry and invertebrates.
- Algae patina (in moderation) can enhance natural appearance.
- Slight weathering of surfaces creates additional microhabitats for beneficial organisms.
Dr. Robert Chen, aquatic ecologist, explains: “A decoration that has been in an established aquarium for six months is biologically very different from when it was first introduced. This biological ‘seasoning’ is actually beneficial to the overall ecosystem stability.”
DIY Decorations for Specific Fish Species
Different aquatic species have distinct behavioral needs that can be addressed through targeted decoration designs:
For Territorial Cichlids
Territorial markers and clear sight-line breaks prevent aggression:
- Create multiple similar-sized caves spaced throughout the aquarium.
- Use rock formations to divide the tank into distinct territories.
- Ensure each territory contains both hiding places and open areas.
For Shy Species
Species like dwarf gouramis and certain tetras benefit from:
- Dense plant coverage integrated into decorations.
- Small, numerous hiding spots with multiple escape routes.
- Floating elements that reduce light intensity in certain areas.
For Bottom Dwellers
Catfish, loaches, and plecos have specialized needs:
- Smooth-surfaced caves to prevent barbel damage.
- Feeding stations integrated into rock formations.
- Varying substrate depths around decoration bases.
Marine biologist Dr. Sarah Williams recommends: “Observe your fish’s natural behavior for 1-2 weeks before finalizing decoration placement. Their swimming patterns and preferred resting areas will reveal where additional structures might be beneficial.”
Advanced DIY Techniques for Experienced Aquarists
For those with previous DIY success, these advanced techniques create truly custom environments:
1. 3D Printed Decorations
With access to 3D printing technology, possibilities expand dramatically:
Materials Needed:
- 3D printer
- Aquarium-safe filament (PETG or specific resins)
- 3D modeling software or downloaded aquarium-safe files
Considerations:
- Use only filaments specifically tested and approved for aquarium use.
- Design with proper support structures to prevent collapsing underwater.
- Create 100% infill for items intended to sink naturally.
- Print at highest resolution to minimize surface irregularities that could harm fish.
2. Custom Backgrounds
Creating a three-dimensional background transforms an entire aquarium:
Materials Needed:
- Styrofoam sheets
- Cement products safe for aquarium use
- Acrylic paints (aquarium-safe)
- Silicone adhesive
Process Overview:
- Measure and cut styrofoam to fit aquarium back panel.
- Carve realistic rock textures, ledges, and cave openings.
- Cover completely with multiple layers of aquarium-safe cement.
- Add coloration using aquarium-safe acrylic paints.
- Cure thoroughly (typically 3-4 weeks with water changes).
- Install using silicone to adhere to back glass.
Time Investment Note: “Custom backgrounds require significant preparation time,” cautions professional aquascaper Diego Sanchez. “Plan for 4-6 weeks from initial design to aquarium installation, but the dramatic transformation is worth the wait.”
Avoiding Common DIY Decoration Mistakes
Even experienced aquarists can encounter challenges with DIY projects. Here’s how to avoid the most common issues:
Insufficient Material Research
Problem: Using materials that seem safe but leach chemicals or break down over time. Solution: Research specifically for aquarium use, not just general craft safety. When in doubt, conduct extended water testing with test fish before full implementation.
Inadequate Curing Time
Problem: Introducing decorations before adhesives or sealants are fully cured. Solution: Follow manufacturer guidelines for curing times, then add 50% additional time for underwater applications. Test water parameters after soaking before adding to main tank.
Overlooking Sharp Edges
Problem: Fish injuries from decoration edges and corners. Solution: Run your fingers along all surfaces using a nylon stocking—if it snags, the edge needs additional sanding or covering.
Ignoring Buoyancy
Problem: Decorations floating or tipping due to trapped air or insufficient weight. Solution: Design with stability in mind. Create flat bases, use sufficient weight, and drill small holes in hollow structures to prevent air pockets.
Environmental and Ethical Considerations
Creating eco-friendly DIY decorations extends beyond your aquarium to broader environmental considerations:
Sustainable Material Sourcing
- Use reclaimed or repurposed materials when possible.
- Avoid harvesting live rock or coral skeletons from natural environments.
- Consider the carbon footprint of materials—locally sourced options reduce transportation impact.
End-of-Life Planning
Even well-made decorations eventually need replacement. Plan for responsible disposal:
- Cement-based decorations can often be repurposed in garden landscaping.
- Natural materials can usually be composted.
- Plastic-based items should be properly recycled when possible.
Environmental scientist Dr. Amanda Parker notes: “The aquarium hobby provides wonderful opportunities to observe natural ecosystems, but this appreciation should extend to our material choices and disposal practices.”
For More Expert Pet Care Tips and Product Recommendations, visit https://www.BlithePet.com — your trusted source for pet wellness.
Frequently Asked Questions
Q: How do I know if a stone is aquarium-safe?
A: The safest approach is to test using diluted muriatic acid—if the stone fizzes or bubbles when acid is applied, it likely contains calcium carbonate and will affect water hardness and pH. Additionally, soaking for 2 weeks with regular pH testing can reveal potential issues before adding to your main tank.
Q: Can I use children’s modeling clay to create custom decorations?
A: Most commercial modeling clays contain oils, plasticizers, and other additives unsafe for aquarium use. Instead, use specifically labeled “aquarium-safe” clay products or properly prepared pottery clay that has been kiln-fired at appropriate temperatures.
Q: How do I attach plants to my DIY rock formations?
A: For temporary attachment until plants establish, use cotton thread or fishing line to secure plants to rock crevices. For permanent installation, small dabs of aquarium-safe superglue gel work effectively and are safe once cured. Moss species can be blended with yogurt and painted onto porous surfaces where they will eventually attach naturally.
Q: Are 3D-printed decorations truly safe for aquariums?
A: Safety depends entirely on the filament used. Standard PLA degrades in water over time, while ABS can release harmful chemicals. Only use PETG or specific resin filaments marketed explicitly as aquarium-safe, and always cure printed items for 2-3 weeks with water changes before adding to your main tank.
Q: How do I prevent algae from completely covering my DIY decorations?
A: Some algae growth is natural and beneficial, but excessive growth can be controlled by: positioning decorations away from direct light, adding appropriate algae-eating species to your community, establishing fast-growing plants that compete with algae for nutrients, and performing regular maintenance including gentle scrubbing during water changes.
Q: Can I use superglue for underwater aquarium projects?
A: Cyanoacrylate superglue (especially gel formulations) is generally considered aquarium-safe once fully cured. It works best on dry surfaces before submersion. For underwater repairs, look for products specifically marketed as “aquarium superglue” which cure effectively even in wet conditions.
Conclusion
Creating DIY aquarium decorations offers aquarists an opportunity to personalize their underwater environments while addressing the specific needs of their aquatic pets. From simple terra cotta caves to elaborate multi-level landscapes, these projects enhance both the aesthetic appeal and functionality of your aquarium ecosystem.
Remember that successful DIY aquarium decorations balance creativity with safety. Always prioritize your fish’s well-being by selecting appropriate materials, allowing adequate preparation time, and monitoring how new additions affect your tank’s delicate ecosystem.
The most rewarding aspect of DIY decorations isn’t just the cost savings—it’s watching your fish interact with environments specifically designed with their needs in mind. As you observe your aquatic pets exploring, claiming territory in, and thriving among your handcrafted decorations, you’ll gain deeper insight into their natural behaviors and preferences.
Have a similar experience with your DIY aquarium decorations? Share it in the comments below!